Welcome to Senior Journalism
This is where you will find all your assignments every day. You may access this directly at
sotajournalism20-21.blogspot.com or though the daily link in google classroom. You will share your google documents by typing in 2006630, which will bring up my name.
At this point in time, I should have received your final project.
Did I? What happens next? At this time, the maximum grade is a 75.
For those of you who have submitted, thank you. I would like to share these with the class. Some of you are taking a senior skip day tomorrow. Have fun. Any who are here tomorrow, you'll get an opportunity to view some of the fantastic work that has come in.
For today, please, if you have not, finish up the project.
If I have your work, once we have taken attendance, you may use this time as you wish.
On Monday, we have a Common Formative Assessment or CFA. This is similar to the one from the fall and is required by the district. This will take three days.
The idea behind your personal photo project is to put into practice some of the techniques you were to have practiced or analyzed:
1. composition: phi grid and rule of thirds
2. a basic understanding of how depth of field works: what is in focus in the fore or background and why.
3. types of shots and purpose behind each: close-up, medium,
establishing or long shot
4. format: vertical or horizontal
5. horizon line placement
6. types of symmetry: horizontal, vertical, reflective and radial symmetry
7. repetition and pattern usage
8. texture
9.light sources and their effects: transmitted light, reflected light, hard light, soft light (these can be reviewed on the blog for the week of May 10
First: select a topic choice. (note that they will all require the same number of images and encompass the techniques referred to above. Think carefully!
1) A Day in My Life
Hmmm.. when does your day start and end? Where does it occur?
You will pick only one day and have to focus in.
2) My Community: where I live and interact each day
3) Songs I Love (with this you will have to think abstractly; how can you illustrate your favoirity songs?) For each image, there will be a different song.
You may take as many pictures as you wish, but you will share only 12 images. Remember that many of your images may not work.
Can I have more? No. How will these be shared?
You will share these on google slides.
Can it be from some place I already took pictures? No, these are new images that demonstrate your practical knowledge of the topics covered in class. Each photo will have a date and location, What type of pictures must these be exactly? You may organize these how you wish, but within the pictures you must demonstrate your understanding the following: close-up medium-range shot
establishing shot
accurate use of fiboacci spiral / rule of thirds
horizontal and vertical format
understanding of the horizon line placement
conscious use of lighting
use of texture, symmetry, pattern, repetition
~~~~~~~~~~~~~~~~~~~~~~~~~~~~~~~~~~~~~~~~~~~~~~~~
Organization of the project
Part 1:
For the google slides: pleasedo not use bright white as a background.
Your photos
Slide 1: Your personal photo (taken by you or someone else)
Title of your project
Your name
Slides 2 through 13:
Again, do not use a bright white background. Only one image per slide.
Underneath for each write the location, date and time and one photo technique that your are illustrating. (See above list; some will repeat)
Part 2: The write-up:
Answer the following question in no fewer that 250
words.
1. What worked best for your chosen theme, and what were some of the obstacles you encountered.
Student exemplar of the project that is due today!
Keep in mind that this is two writing grades: one for your background information from two cited sources, neither of which is from wikipedia, and the other your images with the correct information.
Learning targets:
RH2: I can determine the central ideas or information of a primary or secondary source;
provide an accurate summary that makes clear the relationships among the key
details and ideas
RST4: I can determine the meaning of symbols, key terms, and other content-specific
words and phrases as they are used in scientific or technical sources.
11-12W1: I can write arguments to support claims that analyze substantive topics or
texts, using valid reasoning and relevant and sufficient evidence.
The following assignment is due by midnight on Monday, May 24. This will count as two writing grades.
Directions: below you will find a list of professional photographers.
Tuesday: May 18. Select one person from the following list during class. Browse. Take a a little time and choose carefully, as the works of this individual are the only ones you will be working with.
Please select yours!
Possible topic choices. If there is someone else you wish to research, please let me know.
1. Eddie Adams 2. Timothy Allen 3. Stephen Alvarez 4. Moahmed Amin 5. Pablo Bartholmew 6. Felice Beato 7. Marcus Bleasdale 8. Margaret Bourke-White 9. Mathew Brady 10. Dan Budnik 11. Pogus Caesar 12. Robert Capa 13. Joseph Costa 14. Paul Couvrette 15. Manoocher Deghati 16. Sergio Dorantes 17. Clifton C. Edom 18. Roger Fenton 19. John Harrington 20. Deborah Copaken Kogan 21. Andre Kertesz 22. Russell Klika 23. Danny Lyon 24. Don McCullin 25. Spider Martin 26. Enrico Martino 27. Susan Meiselas 28. Hansel Mieth 29. Lee Miller 30. James Nachtwey 31. Sara Krulwich 32. Lucian Perkins 33. Dith Pran 34. Altaf Qadri 35. Reza Deghati 36. Jim Richardson 37. James Robertson 38. Ingac Sechti 39. Josef Jindrich Sechtl 40. W. Eugene Smith 41. Melissa Springer 42. Juliea Tutwiler 43. Roman Vishniac 44. Zoriah 45. Jacob Riis 46. Carol Guzy 47. Corky Lee 48. Stan Honda 49. Walker Evans 50. Lewis Hine 51. Robert Doisneau 52. Manuel Alvarez Bravo 53. Alfred Eisenstadt 54. Roy DeCarava 55. Sebastio Salgado 56. Timothy O’Sullivan 57. Oscar Rejlander 58 Eadweard Muybridge 59 Helmut Newton 60. Ansel Adams 61. Dorothea Lange 62. Alfred Eisenstadt 63. Edward Steichen 64. Galen Rowell 65. George Ngondo 66. Henri Cartier Bresson 67. Jim Brandenberg 68. Robert Capa 69. Margaret Bourke-White 70. Sam Abell 71. Gordon Parks 72. James Vanderzee 73. Addison Scurlock 74. Eli Reed 75. Remi Ochlik 76. Radhika Chalasani 77. Thomas Allen Harris 78. James Van Der Zee
Below you will find a graphic organizer for a google slide presentation.
For your selected or assigned photojournalist, please complete.
The objective of the organizer is to demonstrate a deeper knowledge of your selected photojournalist's career and their philosophy towards capturing an image, as well as their technique.
How will you do this?
1. Background reading on their work
2. Looking and analyzing several of their images
3. Sharing your collected knowledge through 5 of their works through google slides.
4. How will you organize this?
5. Begin with a minimum of two hundred word synopsis of the your photographer's background.Use two cited sources. You may not use wikipedia.
6. You will create a series of 6 slides
7. On slide one you will have a photograph of your photojournalist with their name, life dates, and a quote from them reflecting their philosophy about photography.
8. This will be followed by 5 images taken from their career, each on a separate slide
9. On each slide: you will have on one half the image, and on the other half the following information:
Our new terms are texture, symmetry, depth of field, lines and patterns, over-the-shoulder shot, low angle and high angle shots.
FIRST a recap:
The first step in taking photo is to SEE. What exactly is in front of your eye? Before your compose your shot, whether to turn your camera horizontally or vertically and decide how you should organize your image following the rule of thirds, where the part that you want most to emphasize is along one of the intersections of the nine-boxed frame or attuned to nature's eye in the golden rule or Fibonacci spiral,
which is created by drawing circular arcs from opposite corners of each square. Look at figure below to see the spiral inside the golden rectangle. This spiral is prolific in nature, most notably in the shell of the Nautilus.
Take notice, and you will see the golden ratio and Fibonacci spiral everywhere from the products you buy, to companies logos, to architecture.
It is well known by marketers who understand by following the golden ratio, people are more likely to view their products as favorable. We can use this to our advantage in our images as well. (advertising connection!)
The famous photographer Henri Cartier-Bresson is known for his powerful, everyday images, which he has composed using the Fibonacci Spiral.
When talking about photography, texture refers to the visual quality of the surface of an object, revealed through variances in shape, tone and color depth. Texture brings life and vibrance to images that would otherwise appear flat and uninspiring.
Use texture in photography to make your photos come alive with an added layer of depth. Learn to photograph the texture of everyday objects to create beautiful, unique images.
Remember that proper lighting is key.For outdoor texture photography, shoot on a sunny day when the sun hits your subject at an angle. This natural side lighting allows you to take advantage of the depth created by shadows. For indoor texture photography, simulate natural light by using an artificial light source with several brightness settings.
Experiment with different angles. Shooting from different angles alters the way the light hits your subject, potentially emphasizing textures that weren't visible from your original vantage point.
Search for patterns. Repeating shapes and lines make some of the most splendid texture images. Look for textured patterns everywhere, and you'll find many new potential subjects.
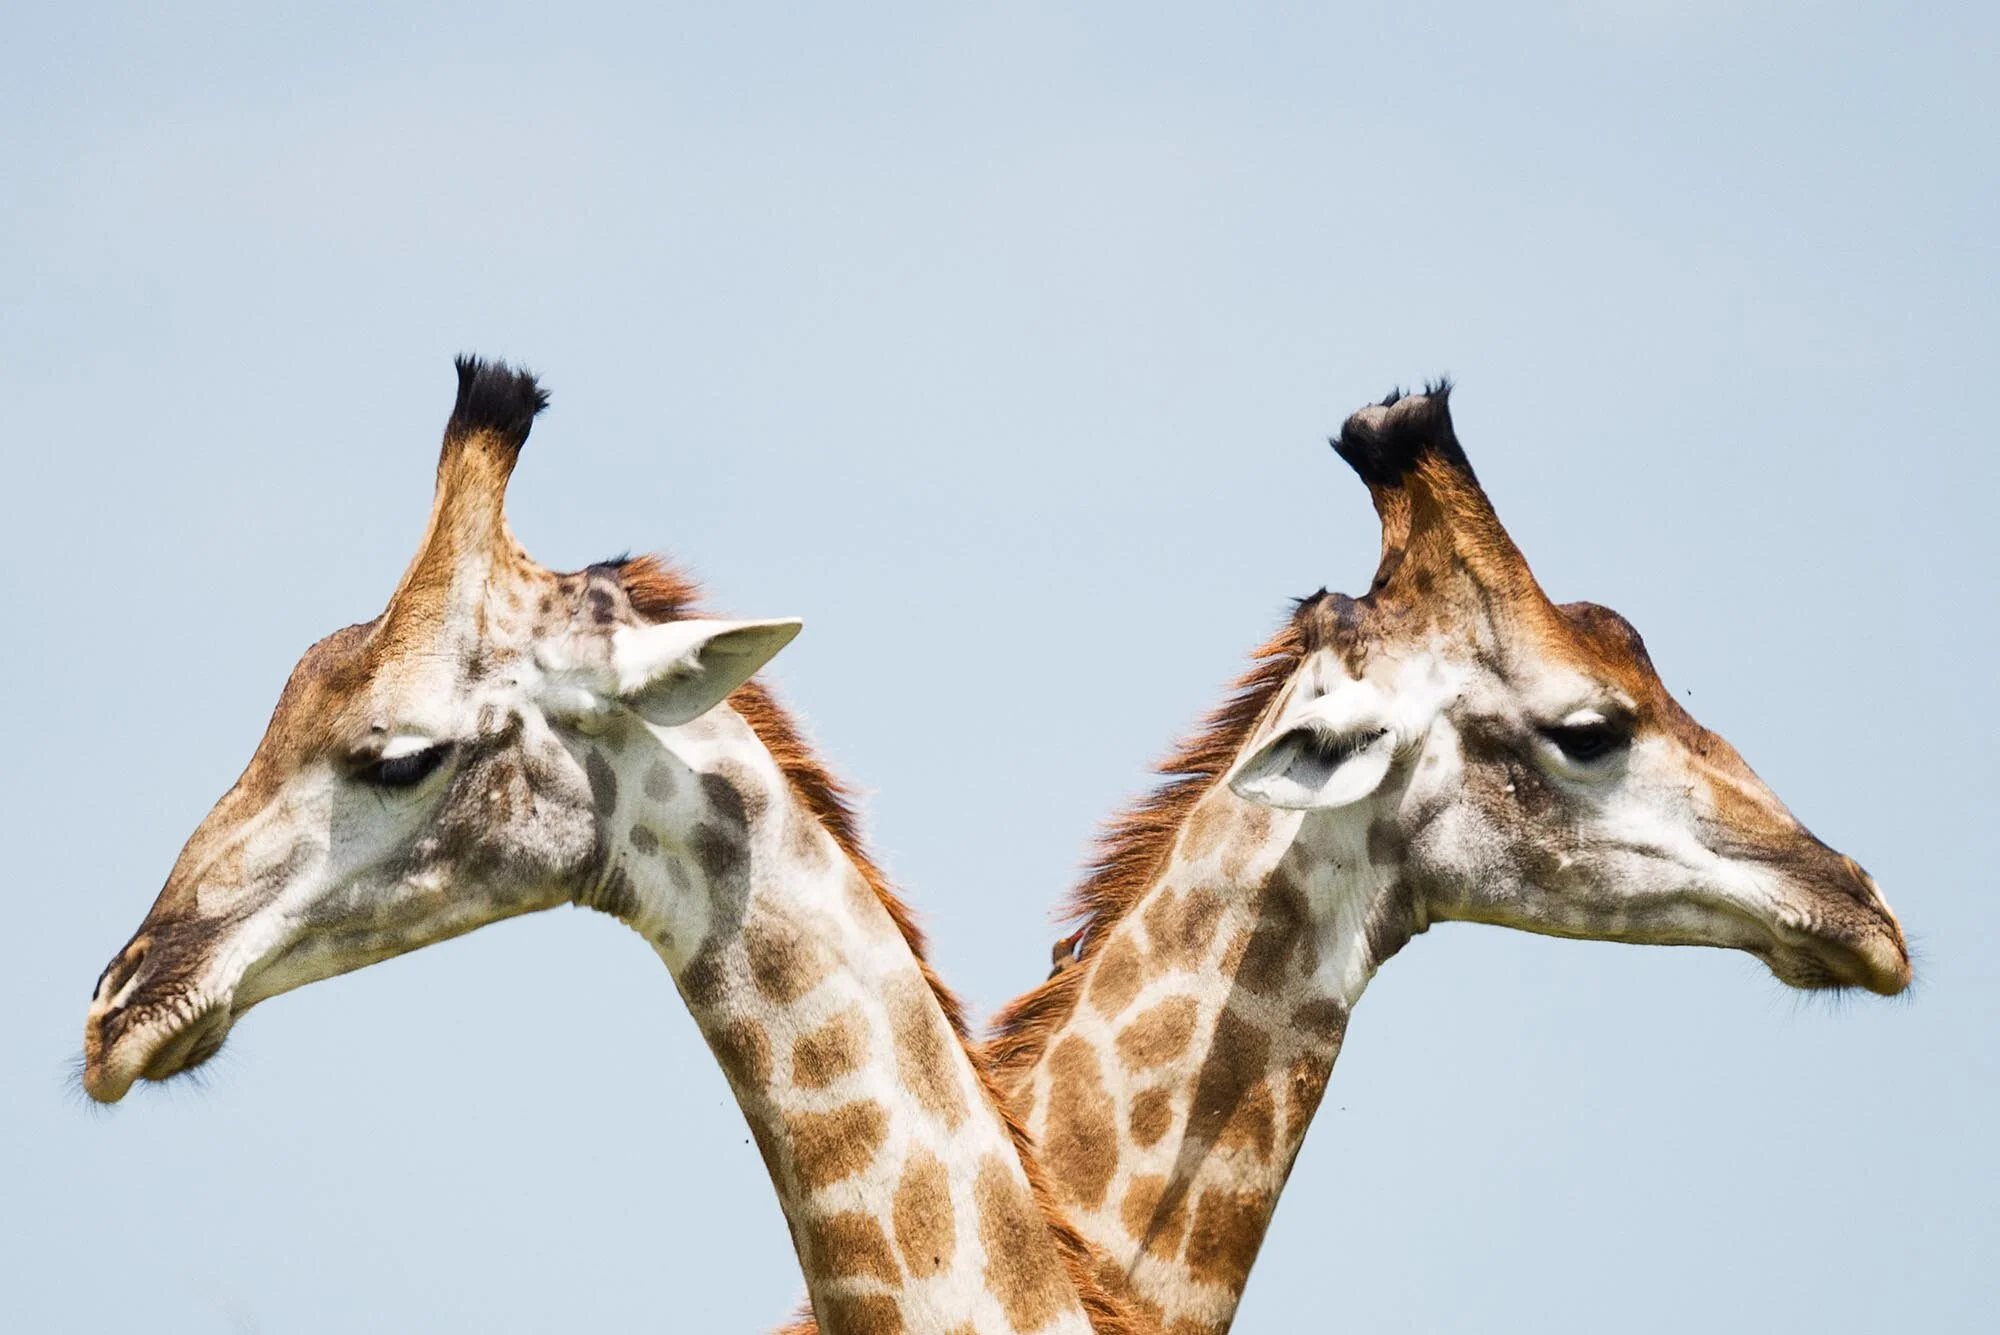
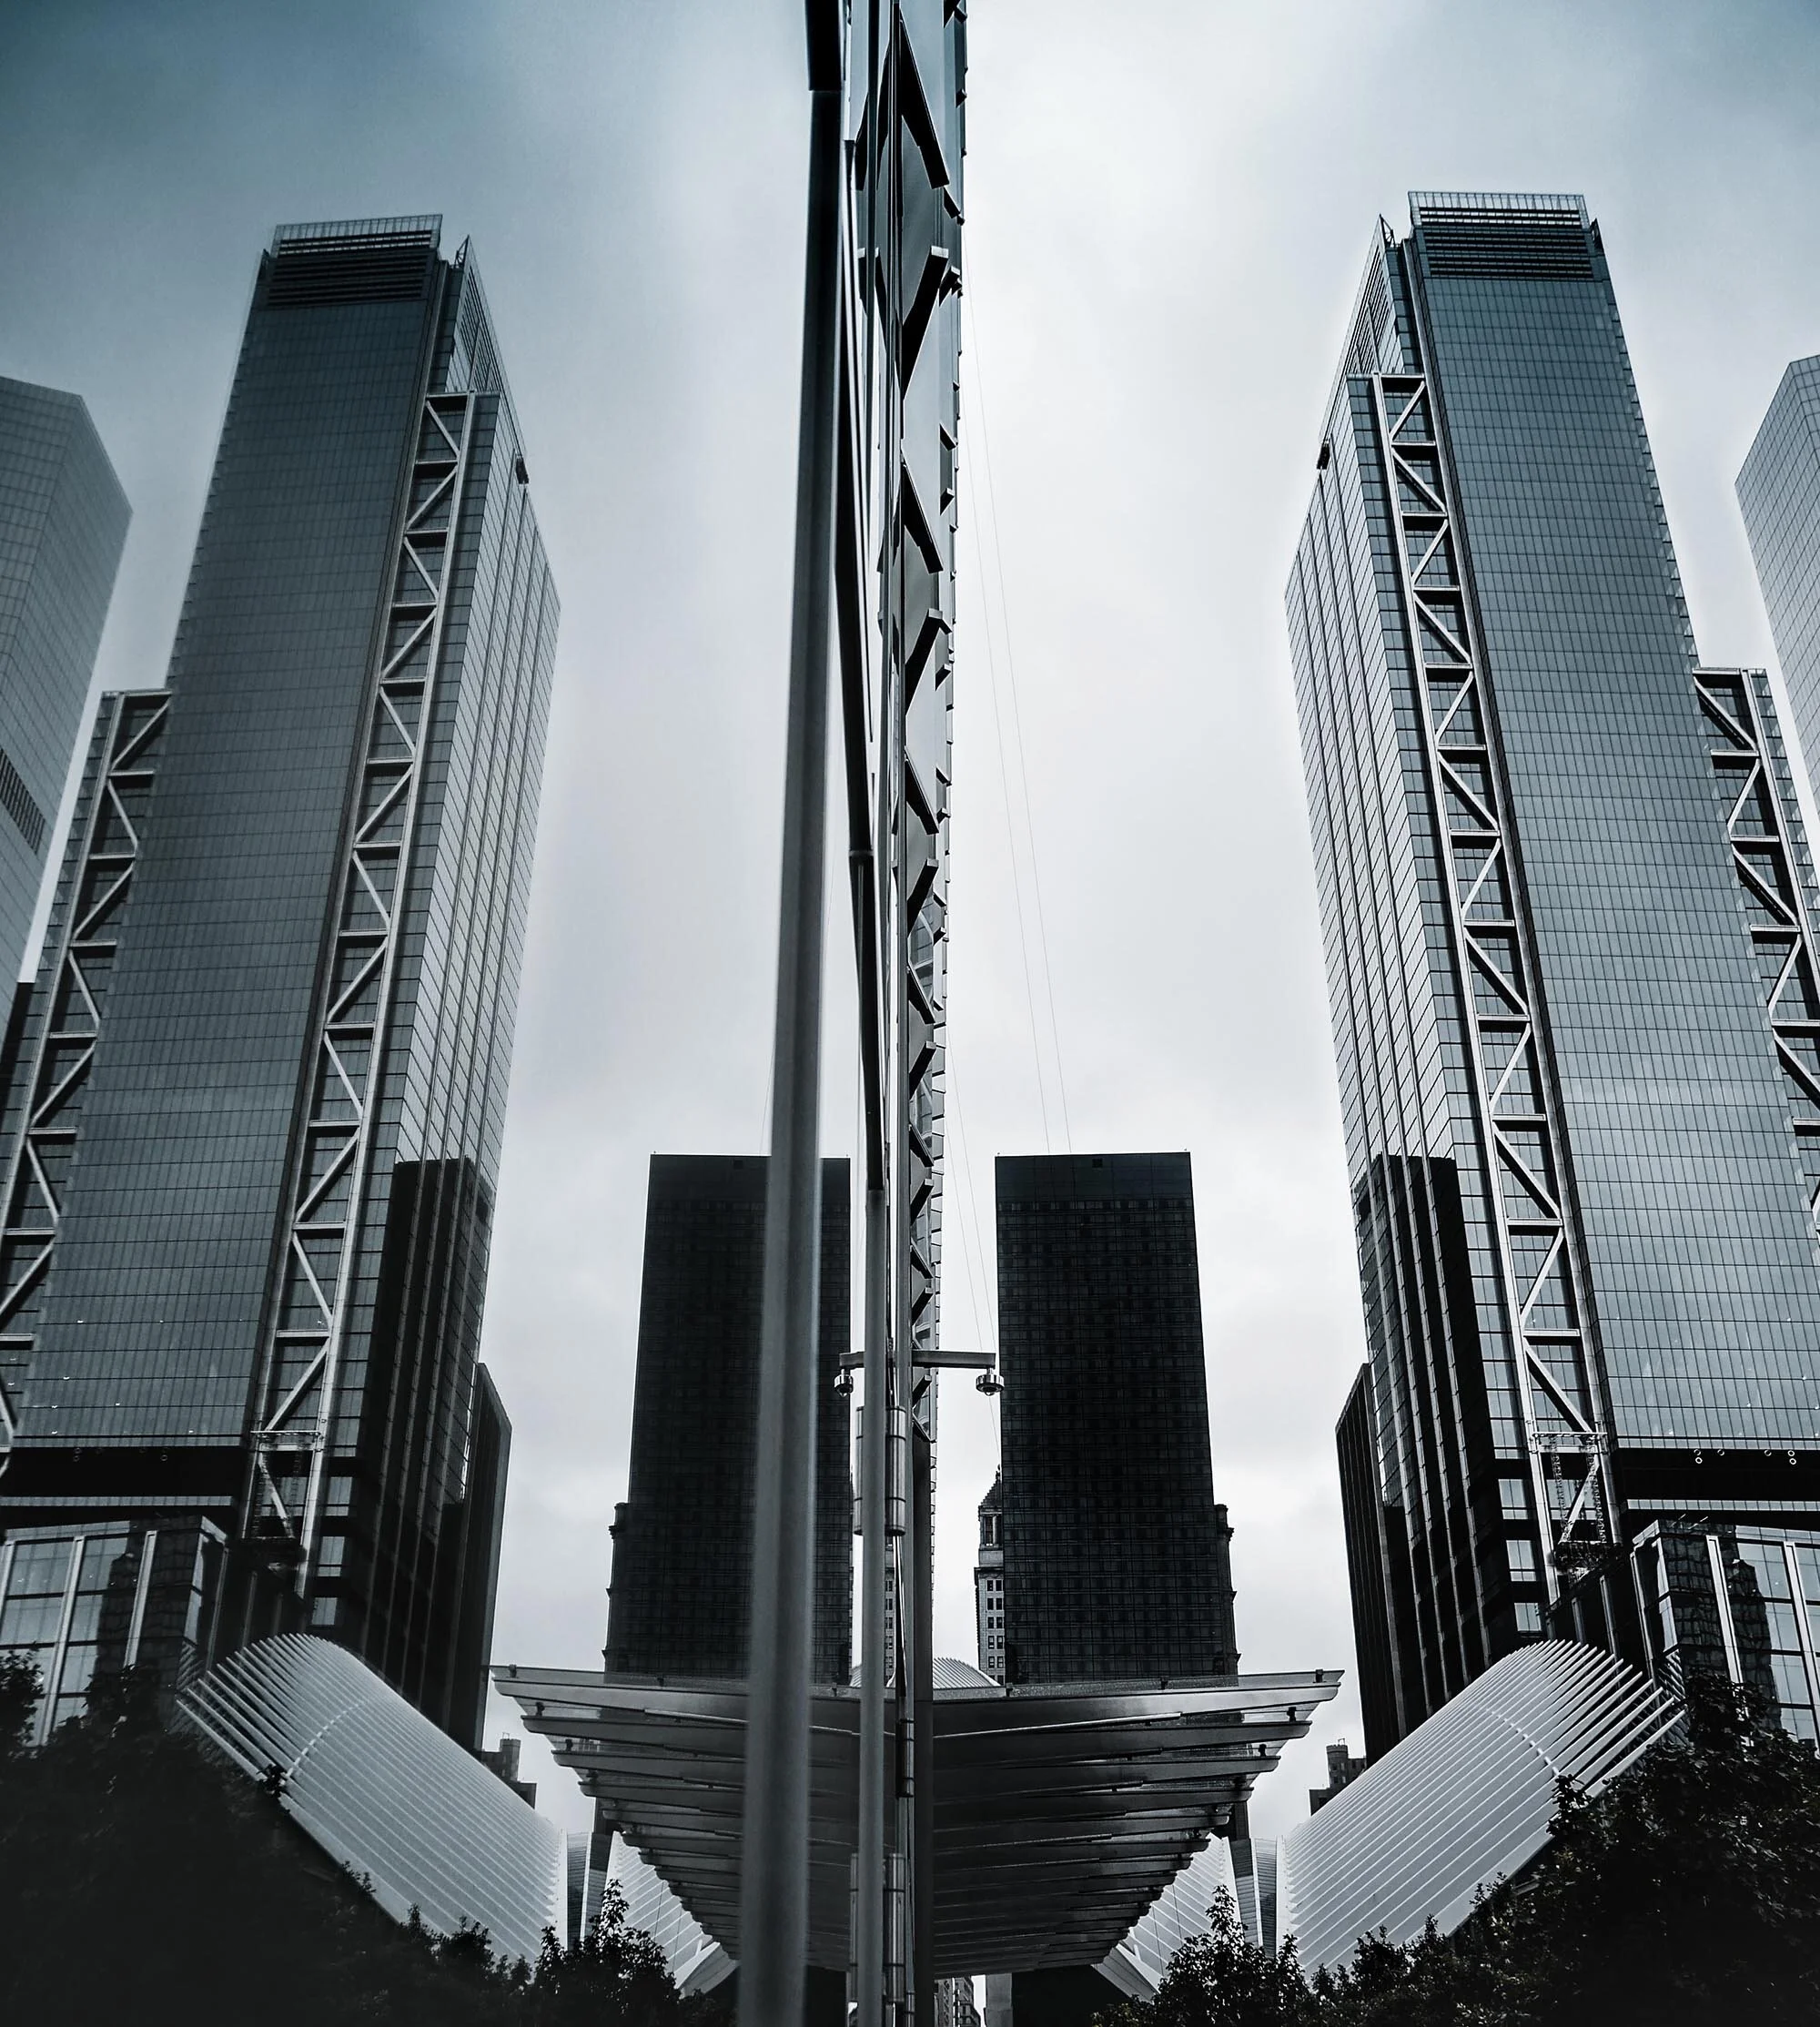
Symmetry
In photography symmetry appears when parts of your composition mirror other parts. It is created when two halves of your scene look the same and balance each other out. Symmetry defines something being clean, proportional and balanced and will make pictures appear neat, tidy and clinical.
Types of Symmetry
Horizontal Symmetry
Horizontal Symmetry is if the line passes through the scene from right to left, dividing the scene into equal halves. This creates a horizontal line of symmetry.
Vertical Symmetry
If the line passes through the scene from top to bottom, dividing the pattern into identical halves, then this creates a vertical line of symmetry.
Radial Symmetry
Radial symmetry is a symmetry where the sides exhibit around a central point. Many flowers are radially symmetric. Roughly identical floral structures of the petals.
Reflective Symmetry
Reflective Symmetry, as the word suggests, is all about reflections. Common places you can find reflections is in water and surfaces like glass.
Depth of field is the distance between the closest and farthest objects in a photo that appears acceptably sharp. Now your camera can only focus sharply at one point. But the transition from sharp to unsharp is gradual, and the term ‘acceptably sharp’ is a loose one! Without getting too technical, how you will be viewing the image, and at what size you will be looking at it are factors that contribute to how acceptably sharp an image is. It also depends on how good your vision is!
Repetition in photography composition is to photography what rhythm is to a song. Repetition of an item, color or element creates a pattern, and patterns draw the eye in to a photograph. ... Although the shapes aren't all exactly the same, the repetition of similar shapes forms a pattern.
Assignment:
Around your house/ neighborhood or any place else you wish photograph the following:
2 images that demonstrate a pattern repetition, one in a horizonal format, the other in a vertical format
2 images of the same subject, one focusing on the distance, the other on an object up close. Use the the same format for each.
Together with light, color is one of the most important elements of photography.
The appropriate use of color in photography adds a dynamic element to your images that is very pleasing to the eye. The correct use of it will allow you to create photographs to be proud of. Bold colors and bright composition in your photos result in images that sell. So use color to your advantage.
********************************
LIGHT
"Photography is just light remembering itself"
Alfred Stieglitz
“Light makes photography. Embrace light. Admire it. Love it. But above all, know light. Know it for all you are worth, and you will know the key to photography.”
George Eastman
Light in photography refers to how the light source, which can be natural or artificial, is positioned in relation to your subject. The position and quality of light can affect any number of things in your final photo, from clarity to tone to emotion and so much more.
One of the most important elements of creativity in photography, light is what allows us to convey information and, more importantly, emotion in an image. Once you understand light, you’ll have the knowledge to create a wide variety of creative images.
The best light for photography
All around us, light comes from a variety of sources, both natural and man-made, and we can use it in a number of different ways to create different moods and atmospheres in our images.
There are four main categories of light. These are:
1. Transmitted light — Transmitted light is light that you can see emitted from its source. This means that we can see the light source directly in the picture. Examples of this could be a candle or even the sun. It is also light that has passed through something before reaching the subject. This could be glass, water or even the atmosphere
2. Reflected light — Reflected light occurs when light reflects off your subject. Almost all of the photographs we take make use of reflected light. Occassionally, transmitted light can also be visible in the same scene.
For example, a landscape image featuring the setting sun visible would include both transmitted and reflected light. However, if the sun was not visible in the frame, it would only be reflected light.
3. Hard light — Hard light is light that is from a small apparent light source, such as a light bulb or sun on a clear day. It often results in very dark, sharp shadows. Hard light can be a good choice for revealing texturesin objects (when used correctly).
4. Soft light — Soft light, which comes from any apparently large light source (from your subject's perspective), produces light that is low in contrast with minimal shadows. The sun on an overcast day provides soft light because the clouds serve to diffuse the light, spreading it over a much larger area and therefore making it a large apparent light source.
Types of light in photography
Many photographers will tell you that the best light for photography is ‘the magic hour’. This is the hour just before and just after sunset or sunrise. This is because there is a combination of both hard and soft light, which can produce much nicer results than just hard or just soft light.
Ways to use light in photography
When it comes to using light, there are a number of different ways it can be used in photography.
The direction, hardness or softness and temperature of light can all have an impact on the mood and feeling of an image. Side light, for example, evokes feelings of romance and nostalgia, whereas light from below creates a sense of terror. Hard shadows create more of a sense of drama than soft shadows, and cool colour tones convey more negative emotions than warm light
Assignment: Please respond to the following questions based upon the following reading. After the reading, there are ten images. Select five and explain where the lighting comes from and how it impacts the photo. Questions: 1. What happens when light rays hit from several directions? 2. Why does the sun cast such a hard light, despite being over 93 million miles away? 3. How do clouds impact the diffusion of light? 4. So you want to make the those earrings sparkle at the prom. What do you do? 5. What happens when you move your light source twice as far from your subject? 6. Why might you prefer side lighting when photographing a landscape? 7. What is a back lit portrait, and where is its light source? 8. What makes a picture have a 3-D look?
1. The broader the light source, the softer the light. A broad light source lessens shadows, reduces contrast, suppresses texture. This is because, with a broad source, light rays hit your subject from more directions, which tends to fill in shadows and give more even illumination to the scene.
Tip: When photographing people indoors by available light, move lamps closer to them or vice versa for more flattering light.
2. The closer the light source, the softer the light.
The farther the source, the harder the light. This stands to reason: Move a light closer, and you make it bigger—that is, broader—in relation to your subject. Move it farther away, and you make it relatively smaller, and therefore more narrow.
Think about the sun, which is something like 109 times the diameter of the earth—pretty broad! But, at 93 million miles away, it takes up a very small portion of the sky and hence casts very hard light when falling directly on a subject.
Tip: Materials such as translucent plastic or white fabric can be used to diffuse a harsh light source. You can place a diffuser in front of an artificial light, such as a strobe. Or, if you're in bright sun, use a light tent or white scrim to soften the light falling on your subject.
3. Diffusion scatters light, essentially making the light source broader and therefore softer.
When clouds drift in front of the sun, shadows get less distinct. Add fog, and the shadows disappear. Clouds, overcast skies, and fog act as diffusion—something that scatters the light in many directions. On overcast or foggy days, the entire sky, in effect, becomes a single very broad light source—nature’s softbox.
Bouncing light acts as diffusion
Tip: Crumple a big piece of aluminum foil, spread in out again, and wrap it around a piece of cardboard, shiny side out. It makes a good reflector that’s not quite as soft in effect as a matte white surface—great for adding sparkly highlights.
4. The farther the light source, the more it falls off— gets dimmer on your subject.
The rule says that light falls off as the square of the distance. That sounds complicated, but isn’t really. If you move a light twice as far from your subject, you end up with only one-quarter of the light on the subject.
In other words, light gets dim fast when you move it away— something to keep in mind if you’re moving your lights or your subject to change the quality of the light.
Also remember that bouncing light—even into a shiny reflector that keeps light directional— adds to the distance it travels.
Tip: If your subject is front lit by window light, keep the person close to the window to make the room’s back wall fall off in darkness. If you want some illumination on the wall, though, move the person back closer to it and away from the window.
5. .Front lighting de-emphasizes texture; lighting from the side, above, or below emphasizes it.
A portraitist may want to keep the light source close to the axis of the lens to suppress skin wrinkles, while a landscapist may want side lighting to emphasize the texture of rocks, sand, and foliage. Generally, the greater the angle at which the light is positioned to the subject, the more texture is revealed.
Tip: For spark in a back lit portrait or silhouette, try compositions that include the light source.
6. Side Light
Side light is light coming from the left or right of the subject. It was used by the masters of painting—Rembrandt used side light in his paintings to give the picture a three dimensional effect. When the light falls on one side of the subject, the other side is in shadow. The shadows are what give the picture a 3D look.
The monk walking past old wooden doors shows how shadow and light can create the contours that make the subject look three-dimensional.
Early mornings and late afternoons are great because the sunlight is more orange; the angle of the light is also more from the side, especially at sunrise and sunset. But also in the hours right after sunrise and the hours just before sunset, the light is not as harsh as in midday.
7. Back Lighting / Shadows create volume!
That’s how photographers describe three dimensionality, the sense of seeing an image as an object in space, not projected on a flat surface.
Again, lighting from the side, above, or below, by casting deeper and longer shadows, creates the sense of volume. Still-life, product, and landscape photographers use angular lighting for this reason.
Back lighting happens when the light source is behind the subject. This means that the light is directly in front of the camera, with the subject in between.
Tip: For spark in a back lit portrait or silhouette, try compositions that include the light source.
In cases of really bright light behind the subject, like in this shot of colorful spools of thread in by a window, the patterns created by the light and shadow make for an interesting picture.
Backlight can be used as highly diffused lighting.
Very few subjects are totally back
lit, that is, in pure silhouette, with no light at all falling from the front. A person with his back to a bright window will have light reflected from an opposite wall falling on him. Someone standing outside with her back to bright sunlight will have light falling on her from the open sky in front of her.
From ten of the following images, select five and identify the origin(s) of the light and specifically how this impacts the message the photographer wishes to convey through the image. Your descriptions will suffice in my identifying the photo.